My cousin and I saw this type of card on Pinterest. So with that in mind we set out to create this version for her grandsons 18th. Birthday.
 Front of card.
 Card open.
My cousin and I saw this type of card on Pinterest. So with that in mind we set out to create this version for her grandsons 18th. Birthday.
Front of card.
Card open.
She was turning two. I used the castle card idea I saw on Pinterest. I created some of the pieces in Cricut Design Space.

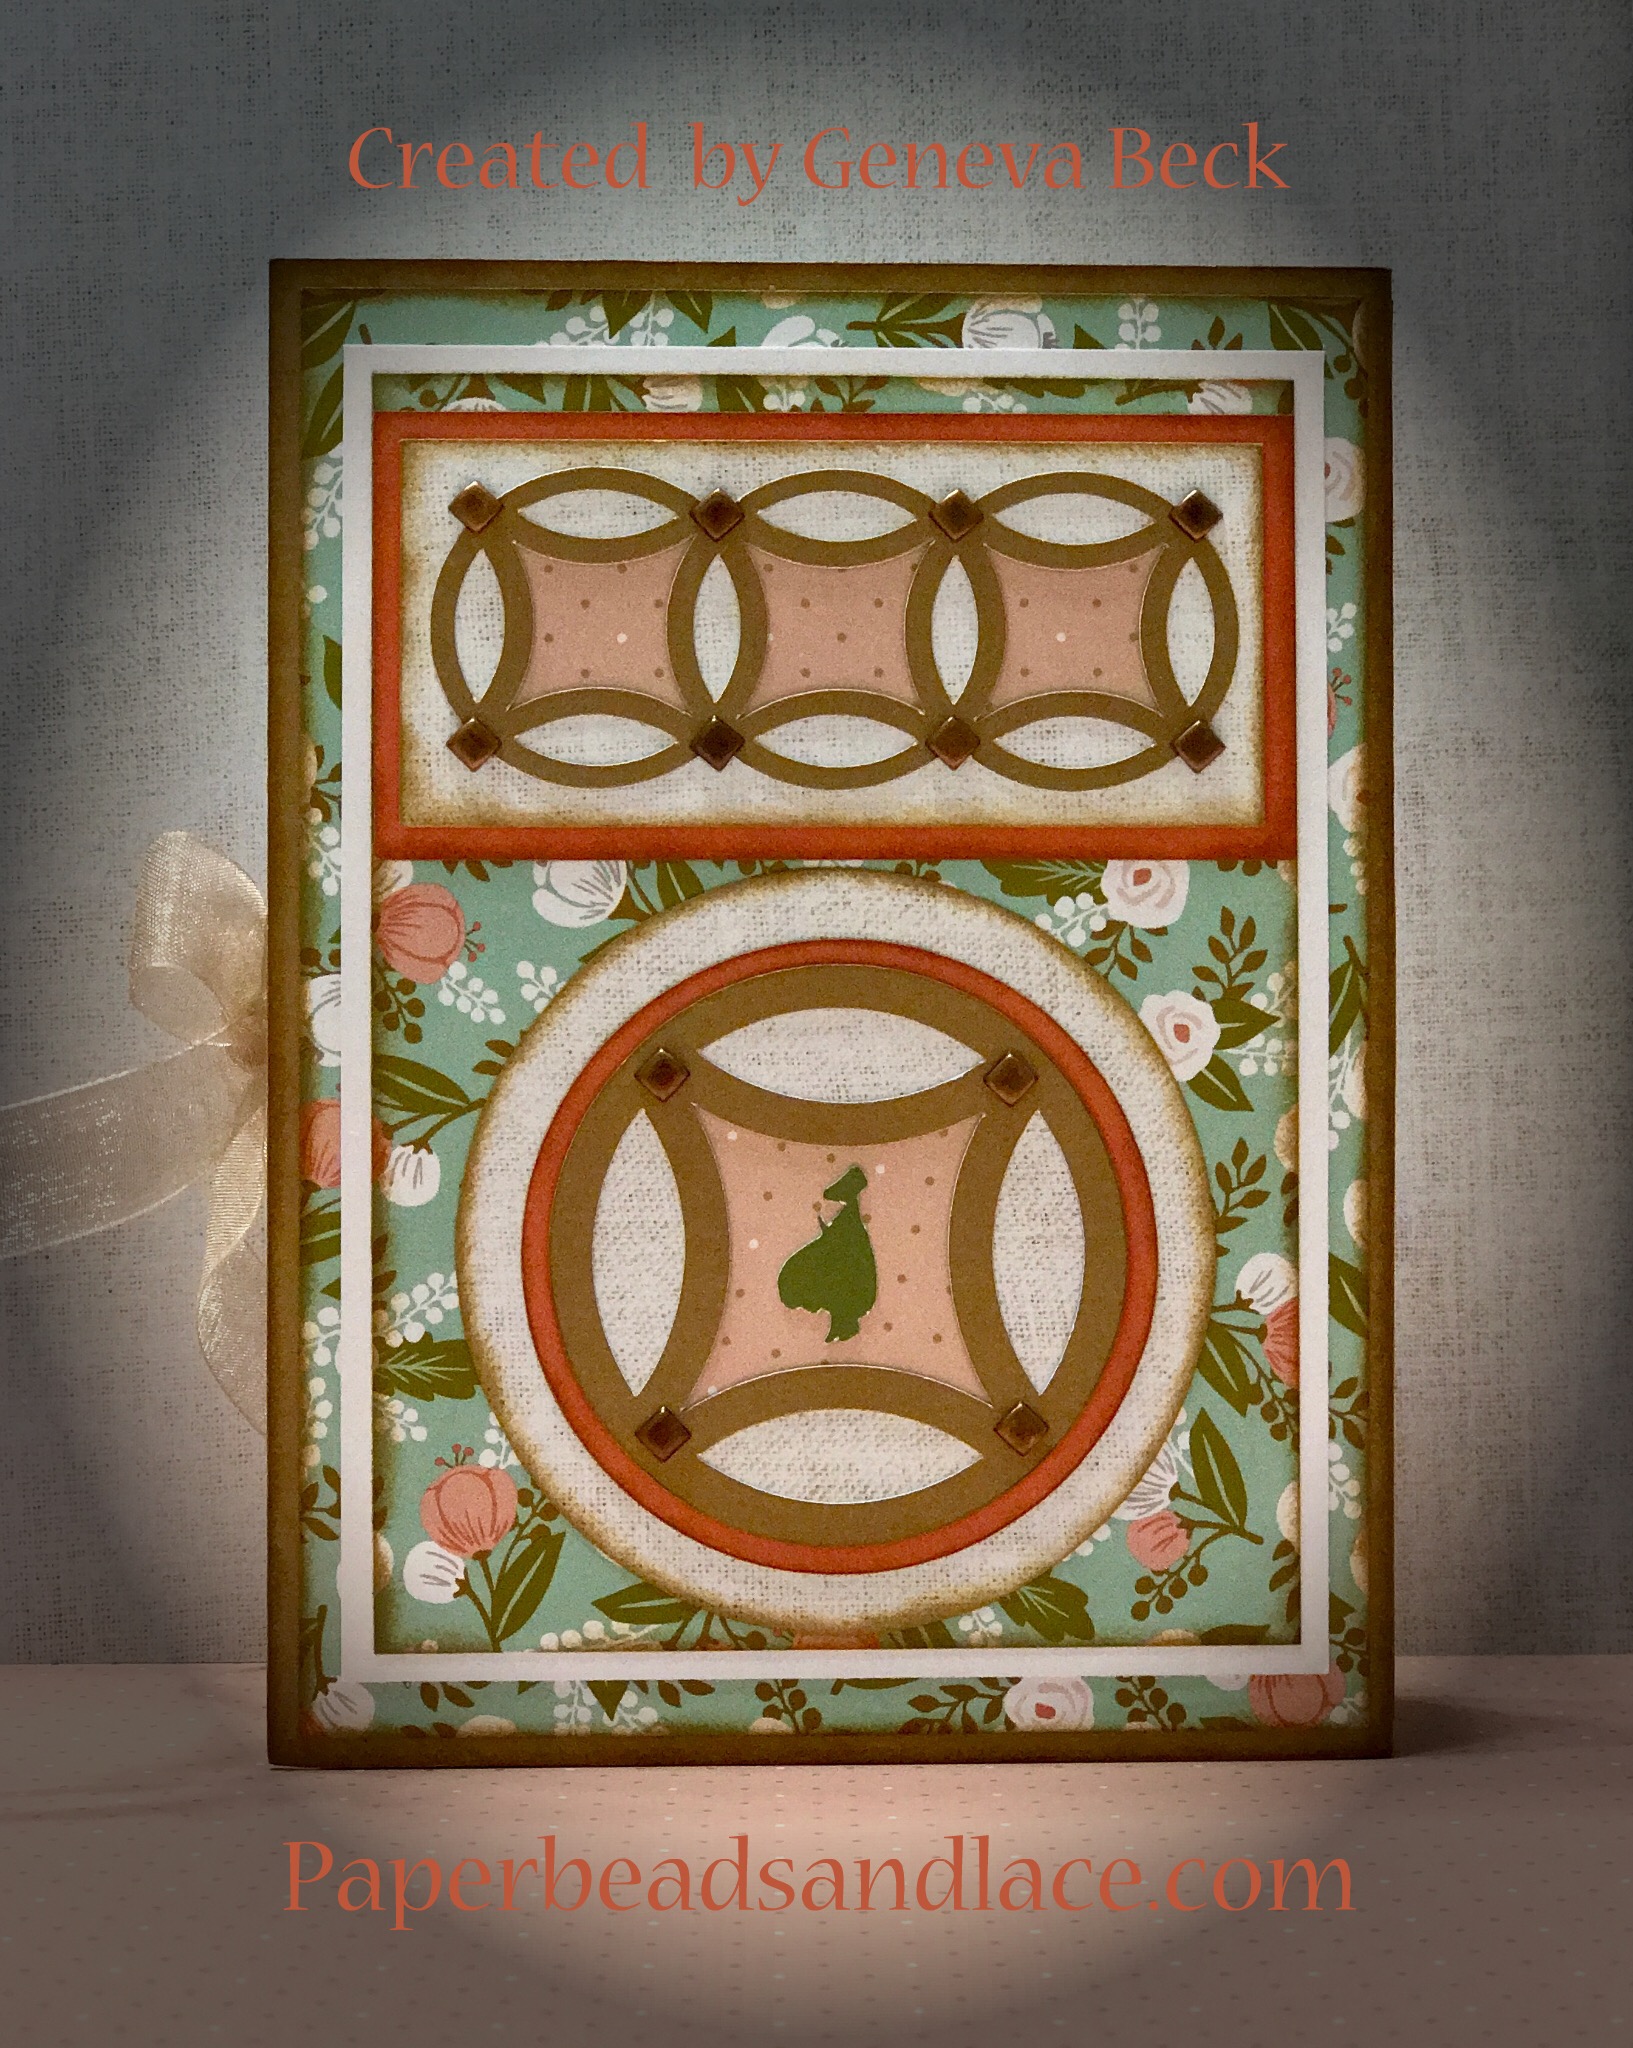
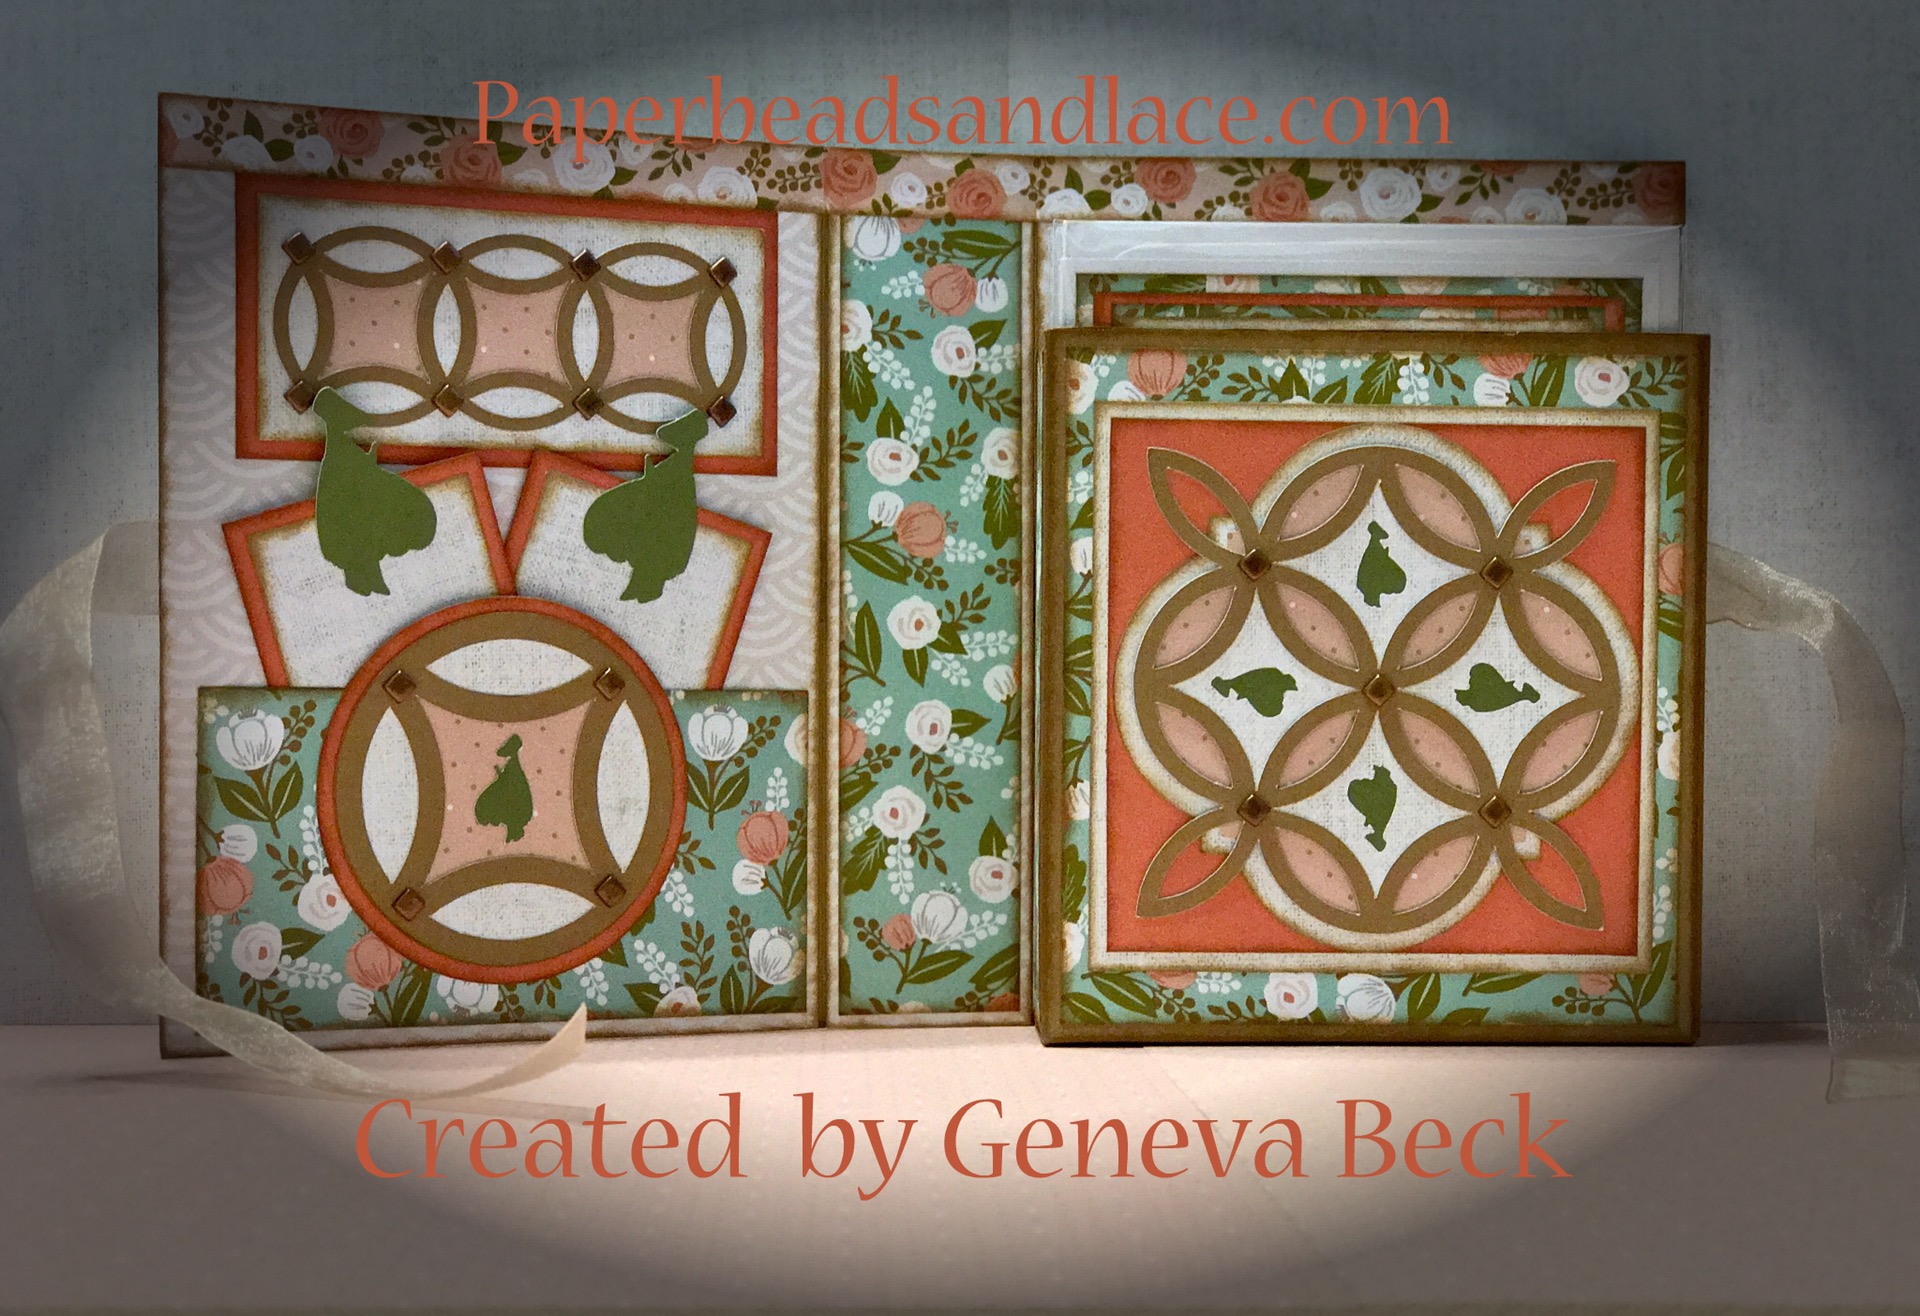
I wanted this years set to represent the double wedding ring pattern. I think I really like this set. The Set holds 3 each of two designs.
 Front of the book box closed.
 Book binding edge.
 Back side of the book box.
 Open edge of book box.
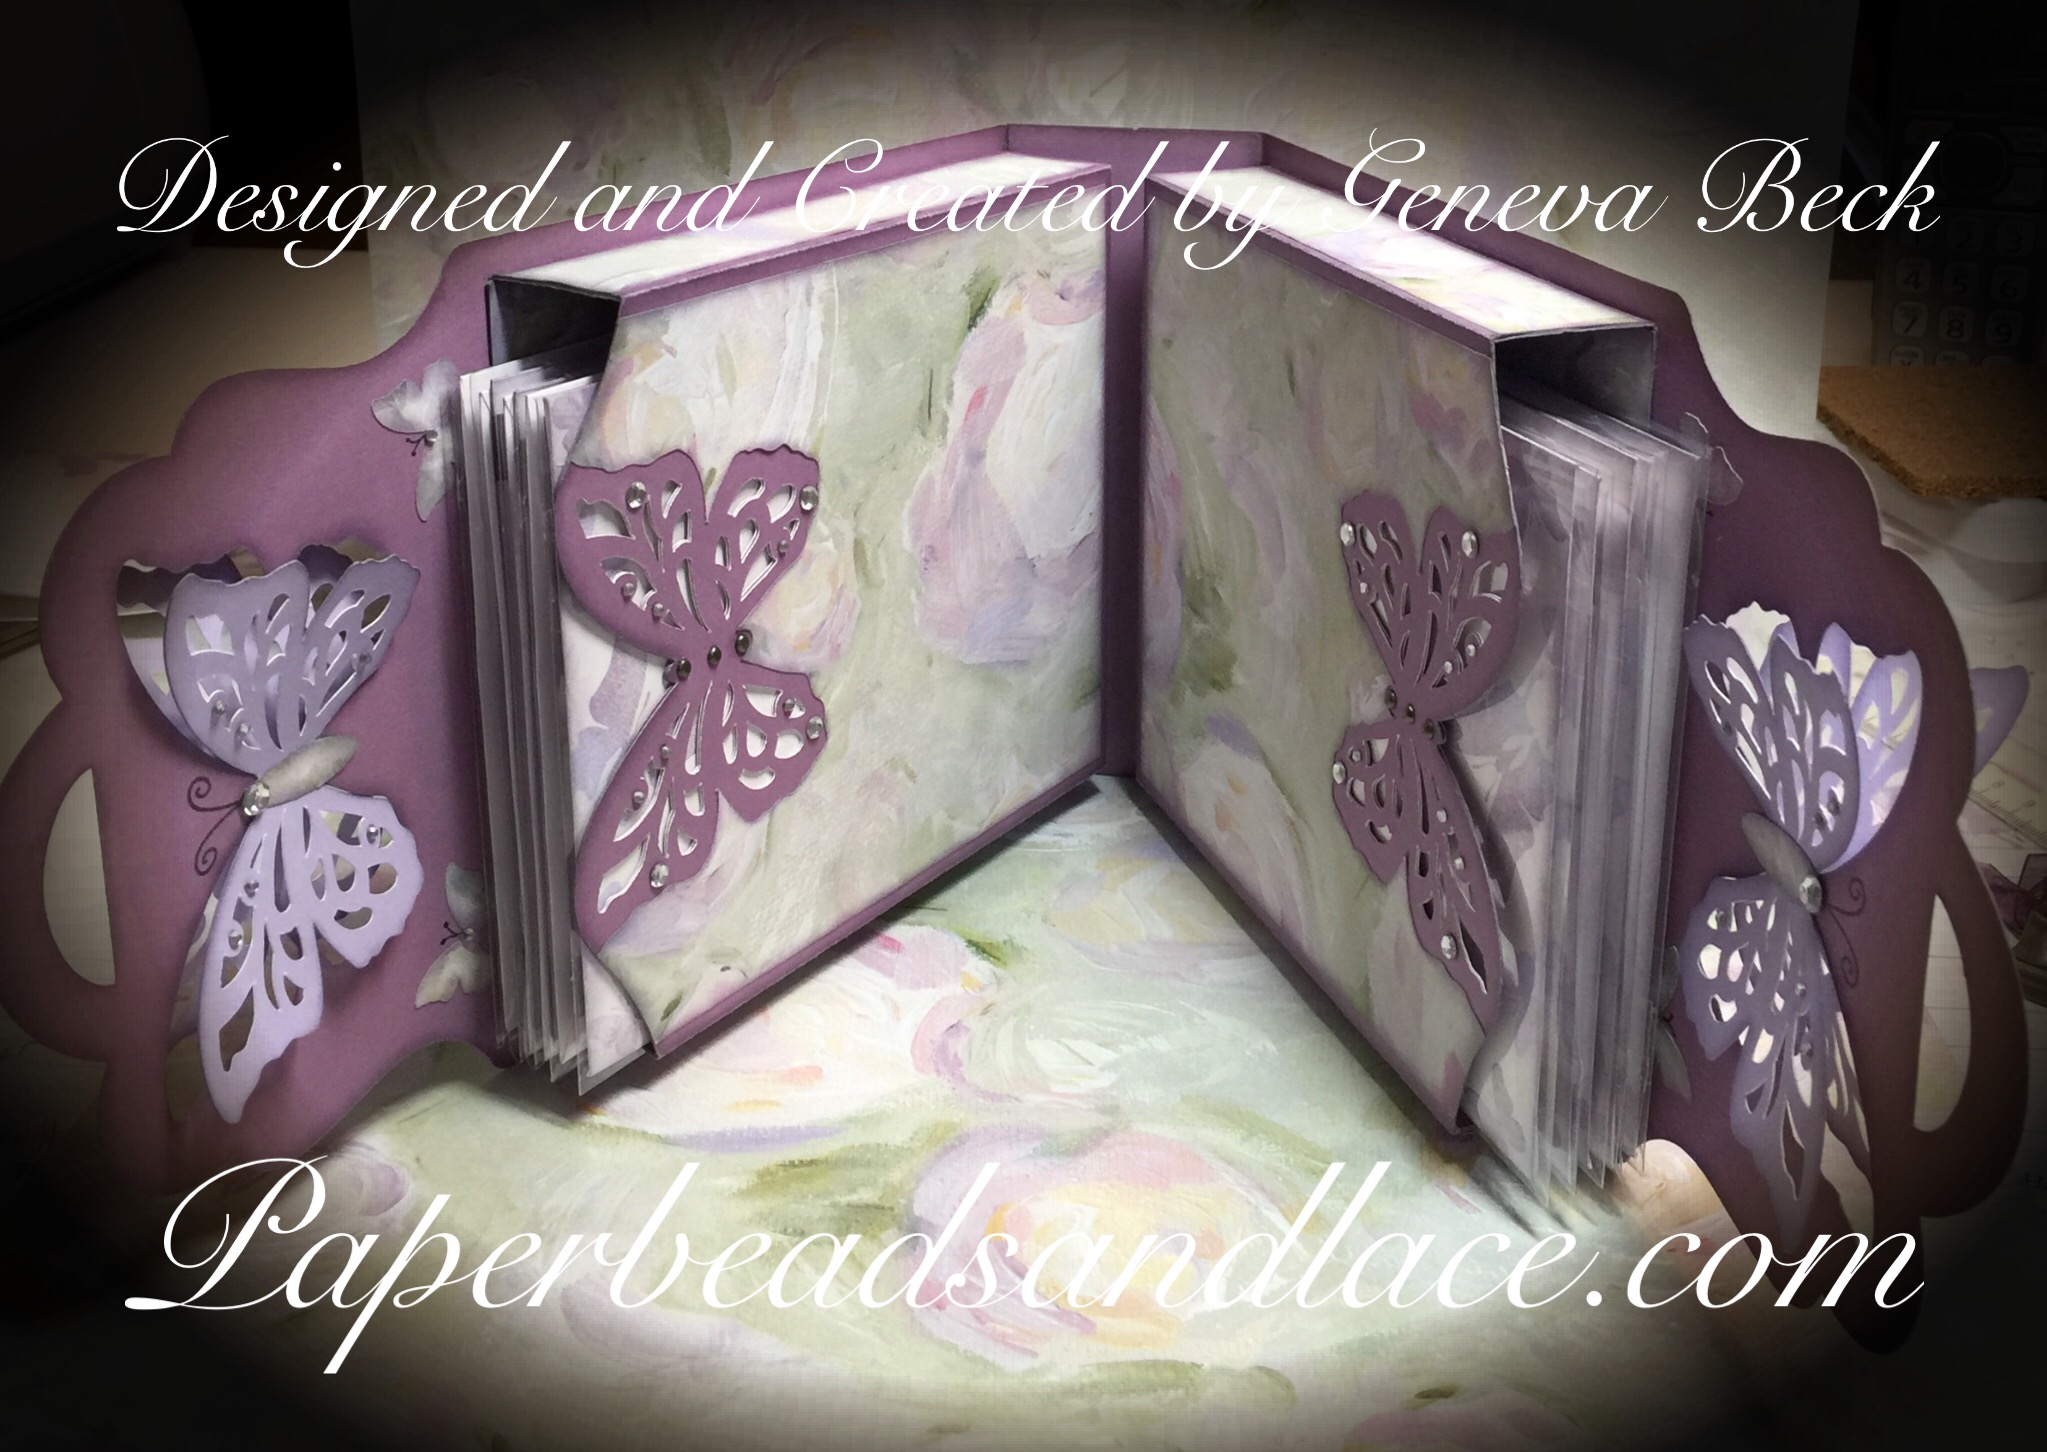
 Open view of the book box showed pocket with two note tags and housing for 6-8 cards.
I made this Bookmark card for my husband to celebrate our 31st. Anniversary. He’s an avid reader, I thought that this way instead of being filled away somewhere not to be seen he would see its message every time he reads.

The back has a blank area for the message.
While my daughter was down from Wisconsin for a mother daughter visit.
We created these gifts for friends and coworkers. They are designed around each person and each one is filled with little notes of inspiration. Each day they can take one out and read it and start their day with a smile of encouragement.


Quilt retreat for 2016 had two sessions this year, so I did two sets one for each week. It was the fifth year celebration and the color was blue. I’m a very visual person and blue is out of my comfort zone of colors I like to work with. With that said I think the sets came out pretty well.


I also added a little gift box for each person who attended as a keepsake for fifth year. For some there was a little something extra in their box, a little beaded scissor fob to adorn their favorite tiny scissors. No one knew who would receive the extra gift for each box contained something. It was fun to watch and see who received them.


These are the little scissor fobs that were inside some of the boxes.


For our 30th. Anniversary, I made this card for my husband. I wanted the card to be simple so that the message would be the focus of the card. Short and sweet was my goal. As you can see in the pictures I was trying to convey that after 30 years together he still makes my heart flutter.


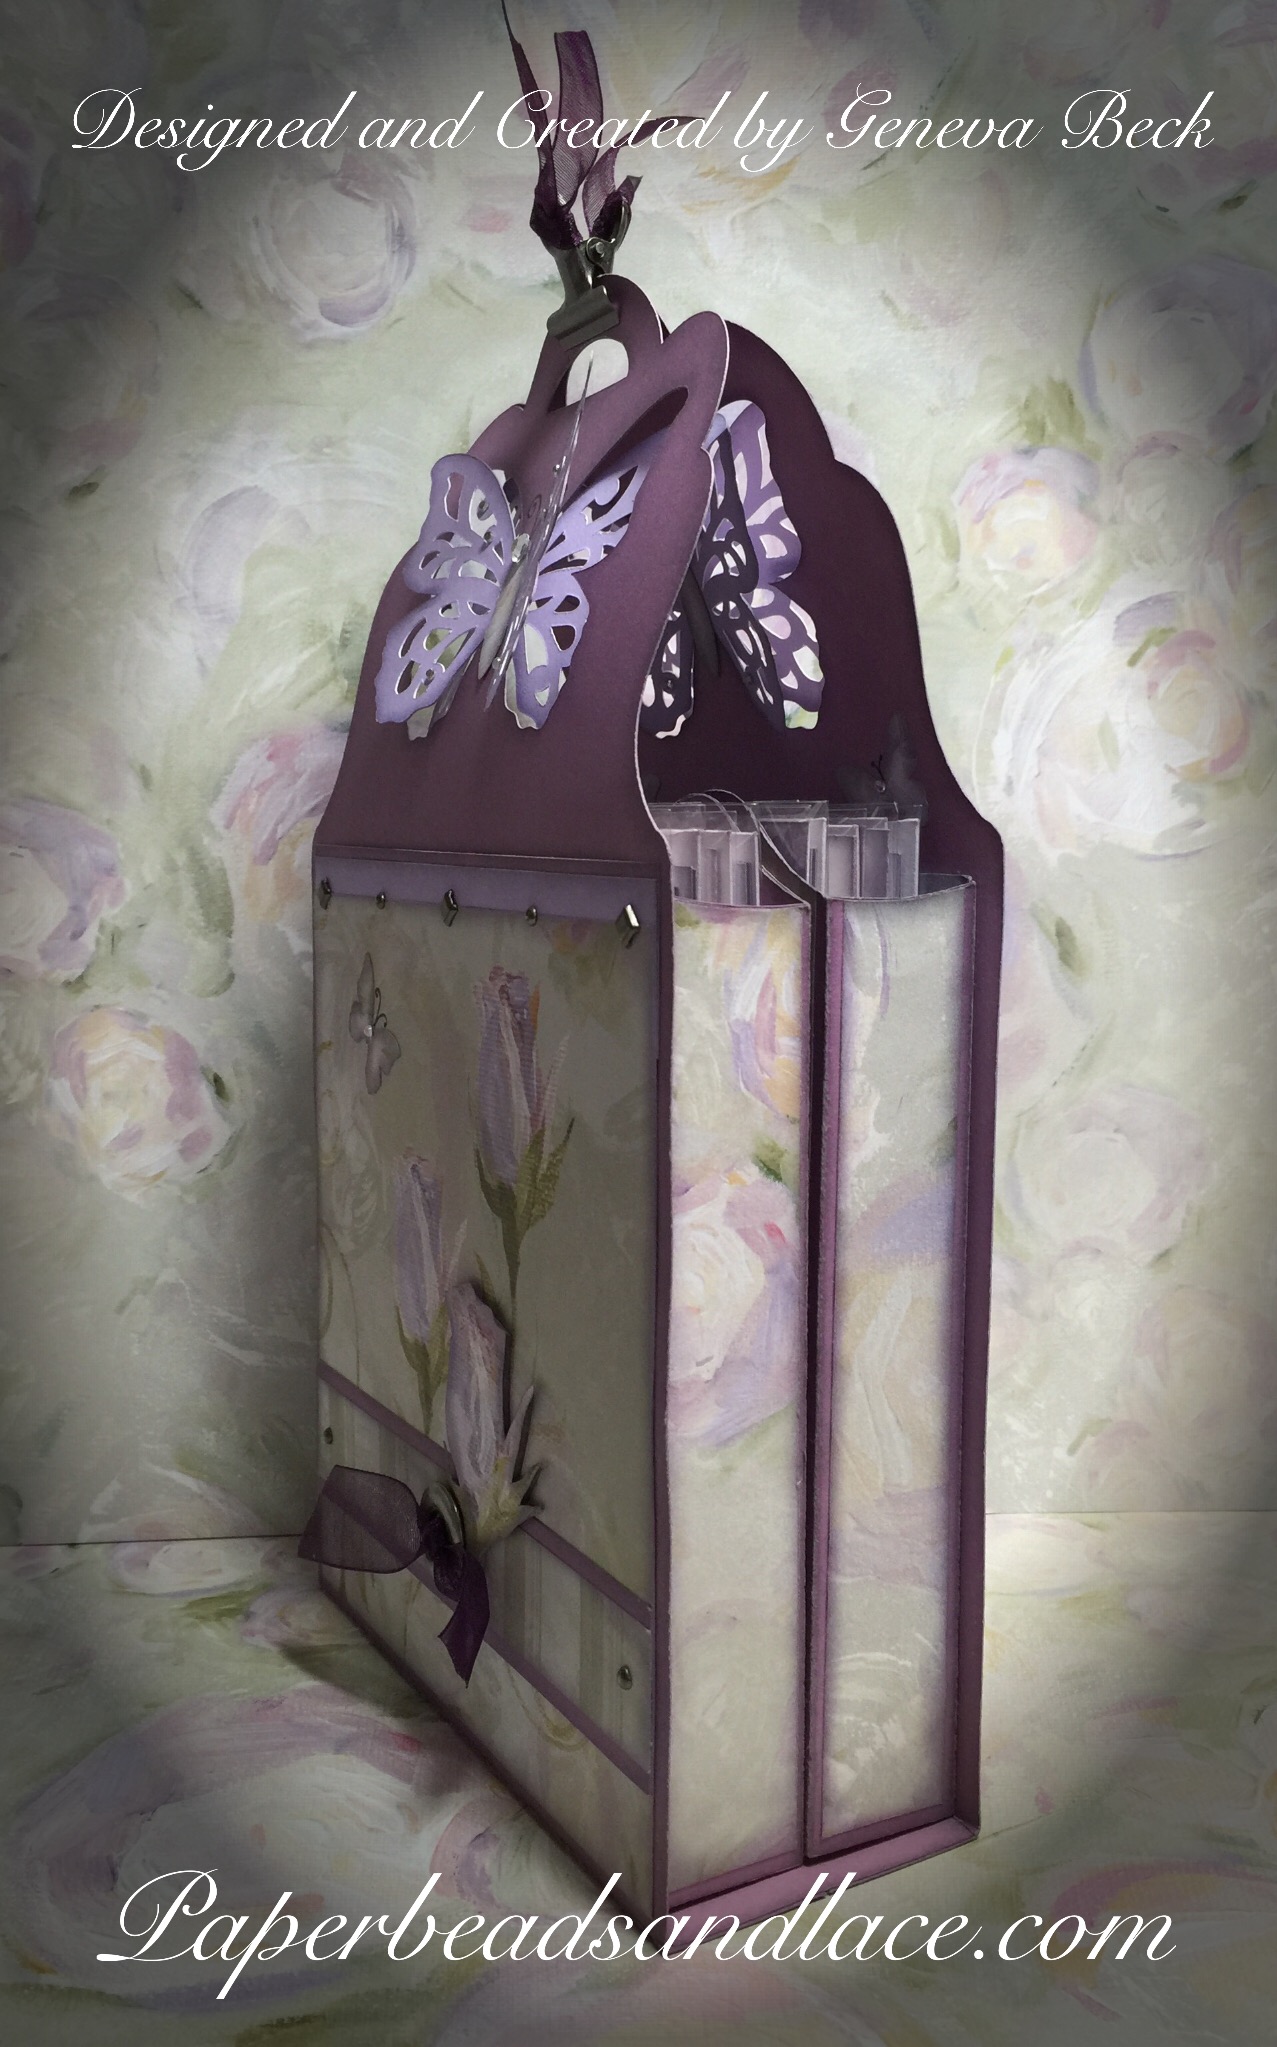
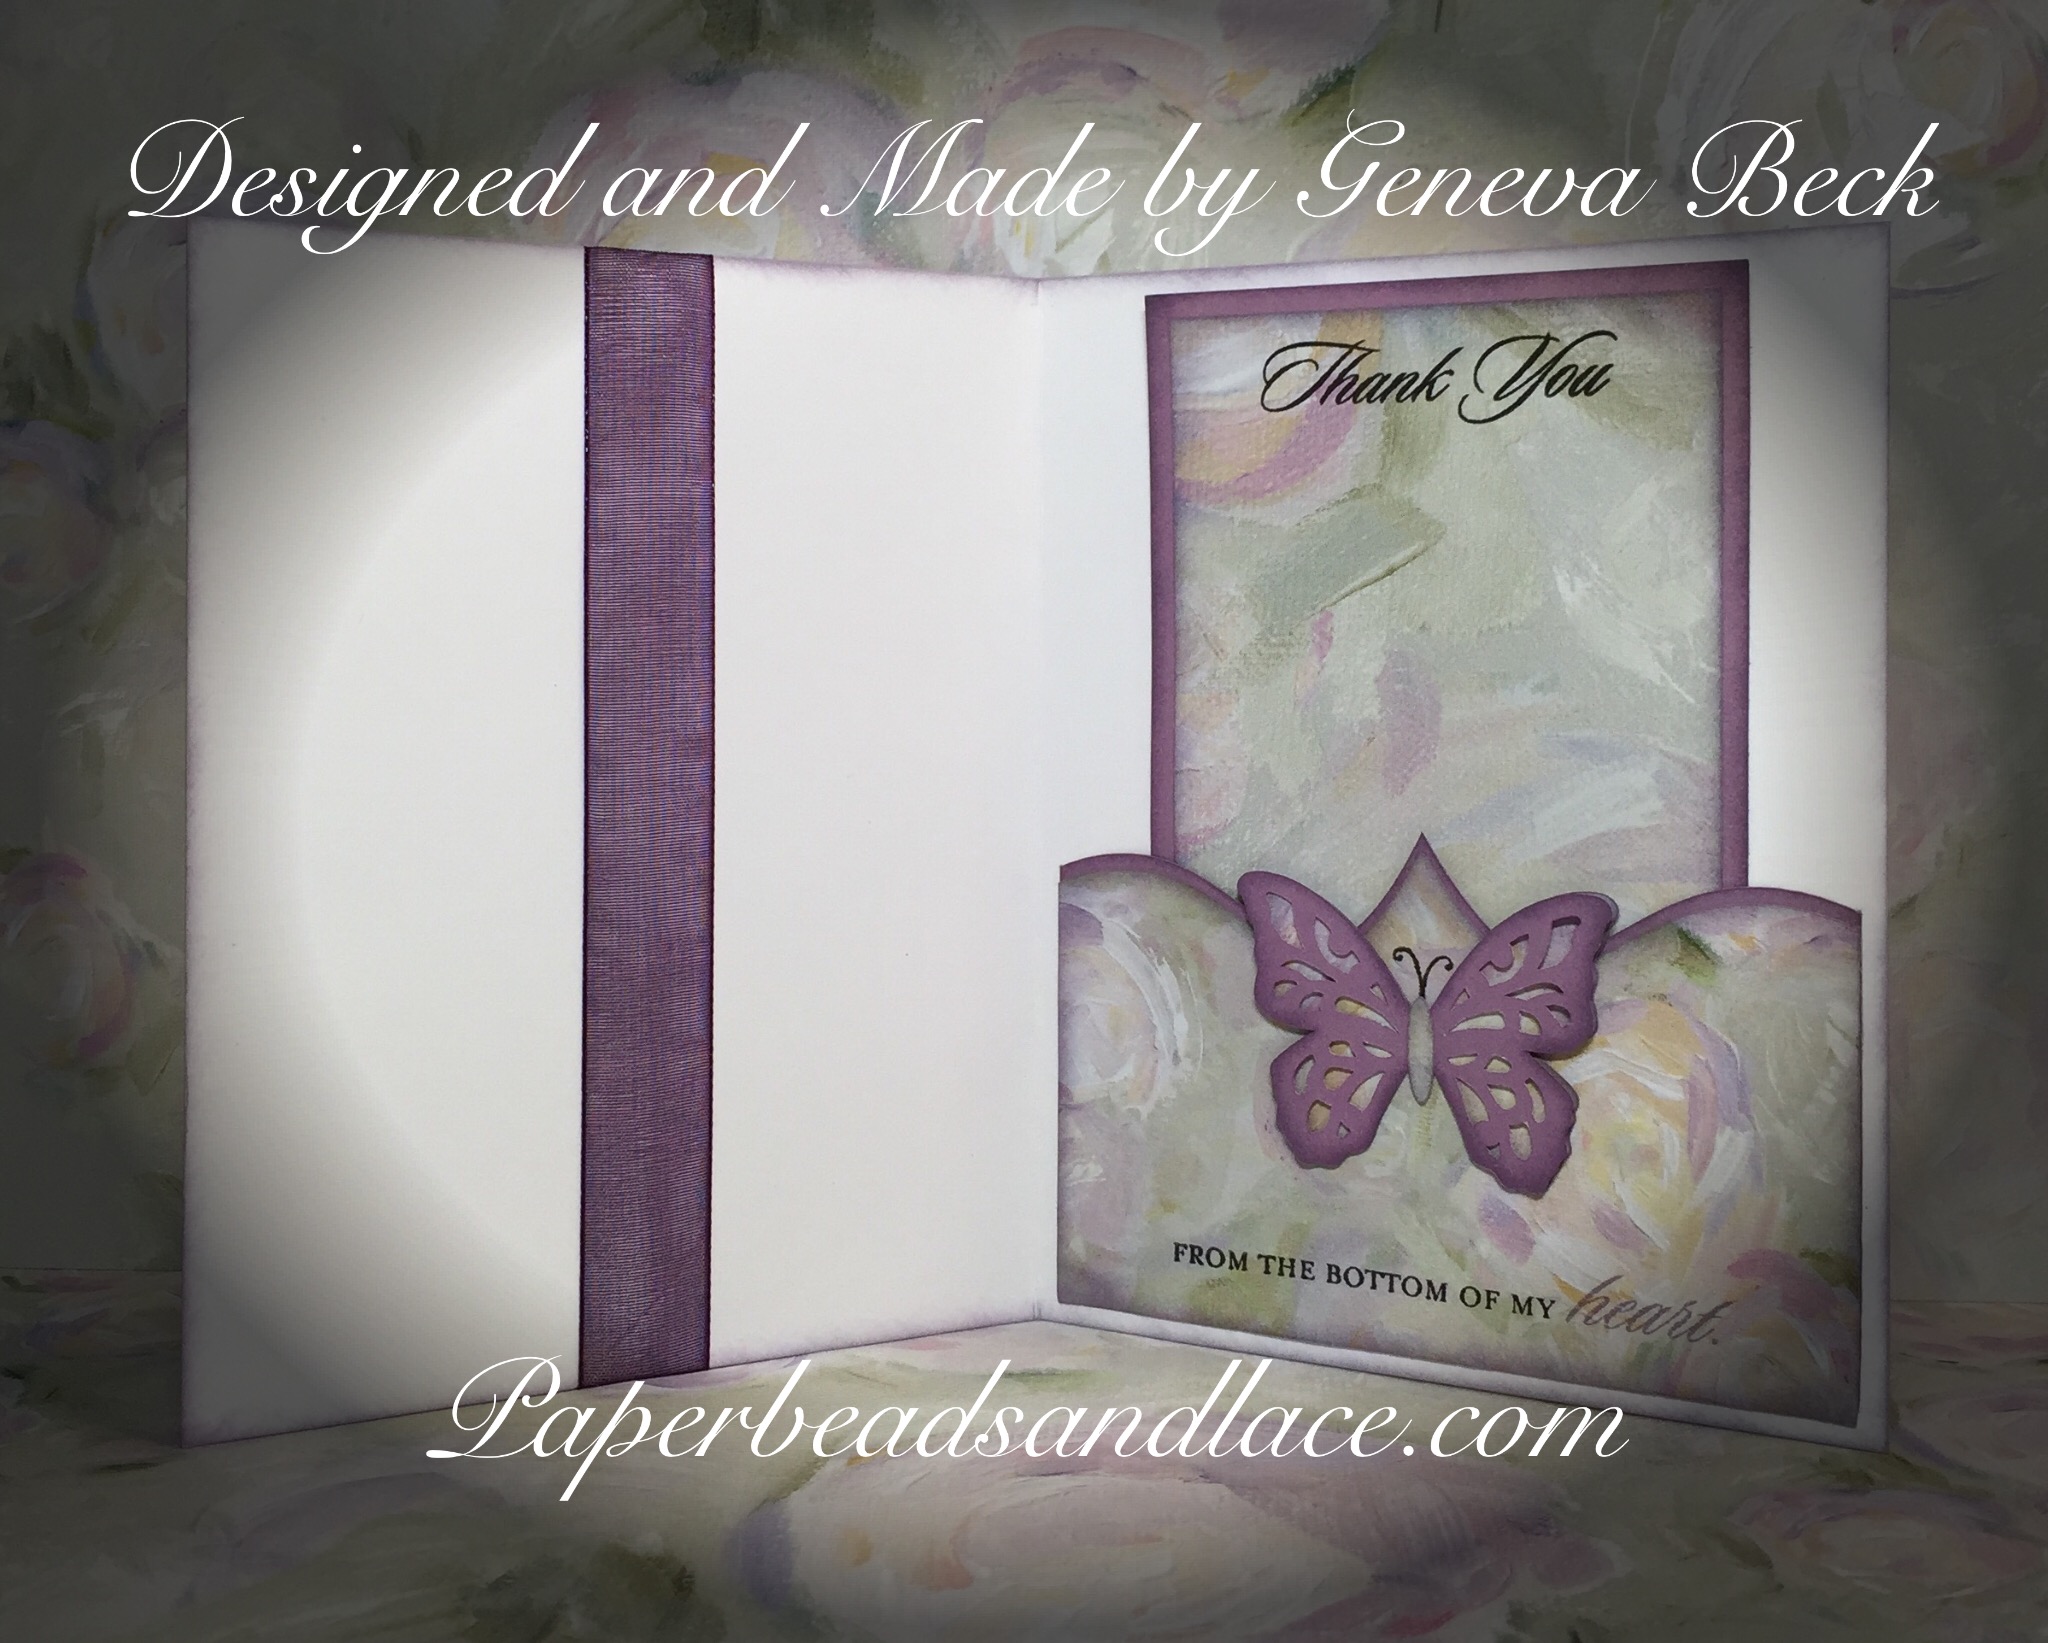
I was asked to make a special Card Box Set that would house 10 Cards in Purple and Lilic. My mind quickly went back in time to a paper collection called Floral Expressions. I was thinking maybe 2009, well I found it went back further than that. It was in 2006 when we had this collection. So I reworked a box I had created in Design Space and decided to incorporate a butterfly in the design. I used an image from the latest CTMH cartridge “Artistry”, image # M58A2E4. I first just used the shape outline to cut the butterfly shape into my box design. As I worked with it I changed the body on the butterfly so it would fit in the space overlapping it enough as to create 3D wings using the top layer of said butterfly. It really worked out very nicely.
Other things I used were :
X7061B Floral Expressions a paper Packet, X5667 Petal Card Stock, X5631 Amethyst Card Stock, White Daisy Cards and Envelopes, Petal, Black, & Amethyst Inks, C1391 Embrace Life, C1299 Butterfly Kiss, A1108 A Flitter, D1627 Your Own Kind of Wonderful Stamp Collections. Most everything is from CTMH (to which is mostly retired products now). I used a few non CTMH products to embellish the box and cards, just a few though. 


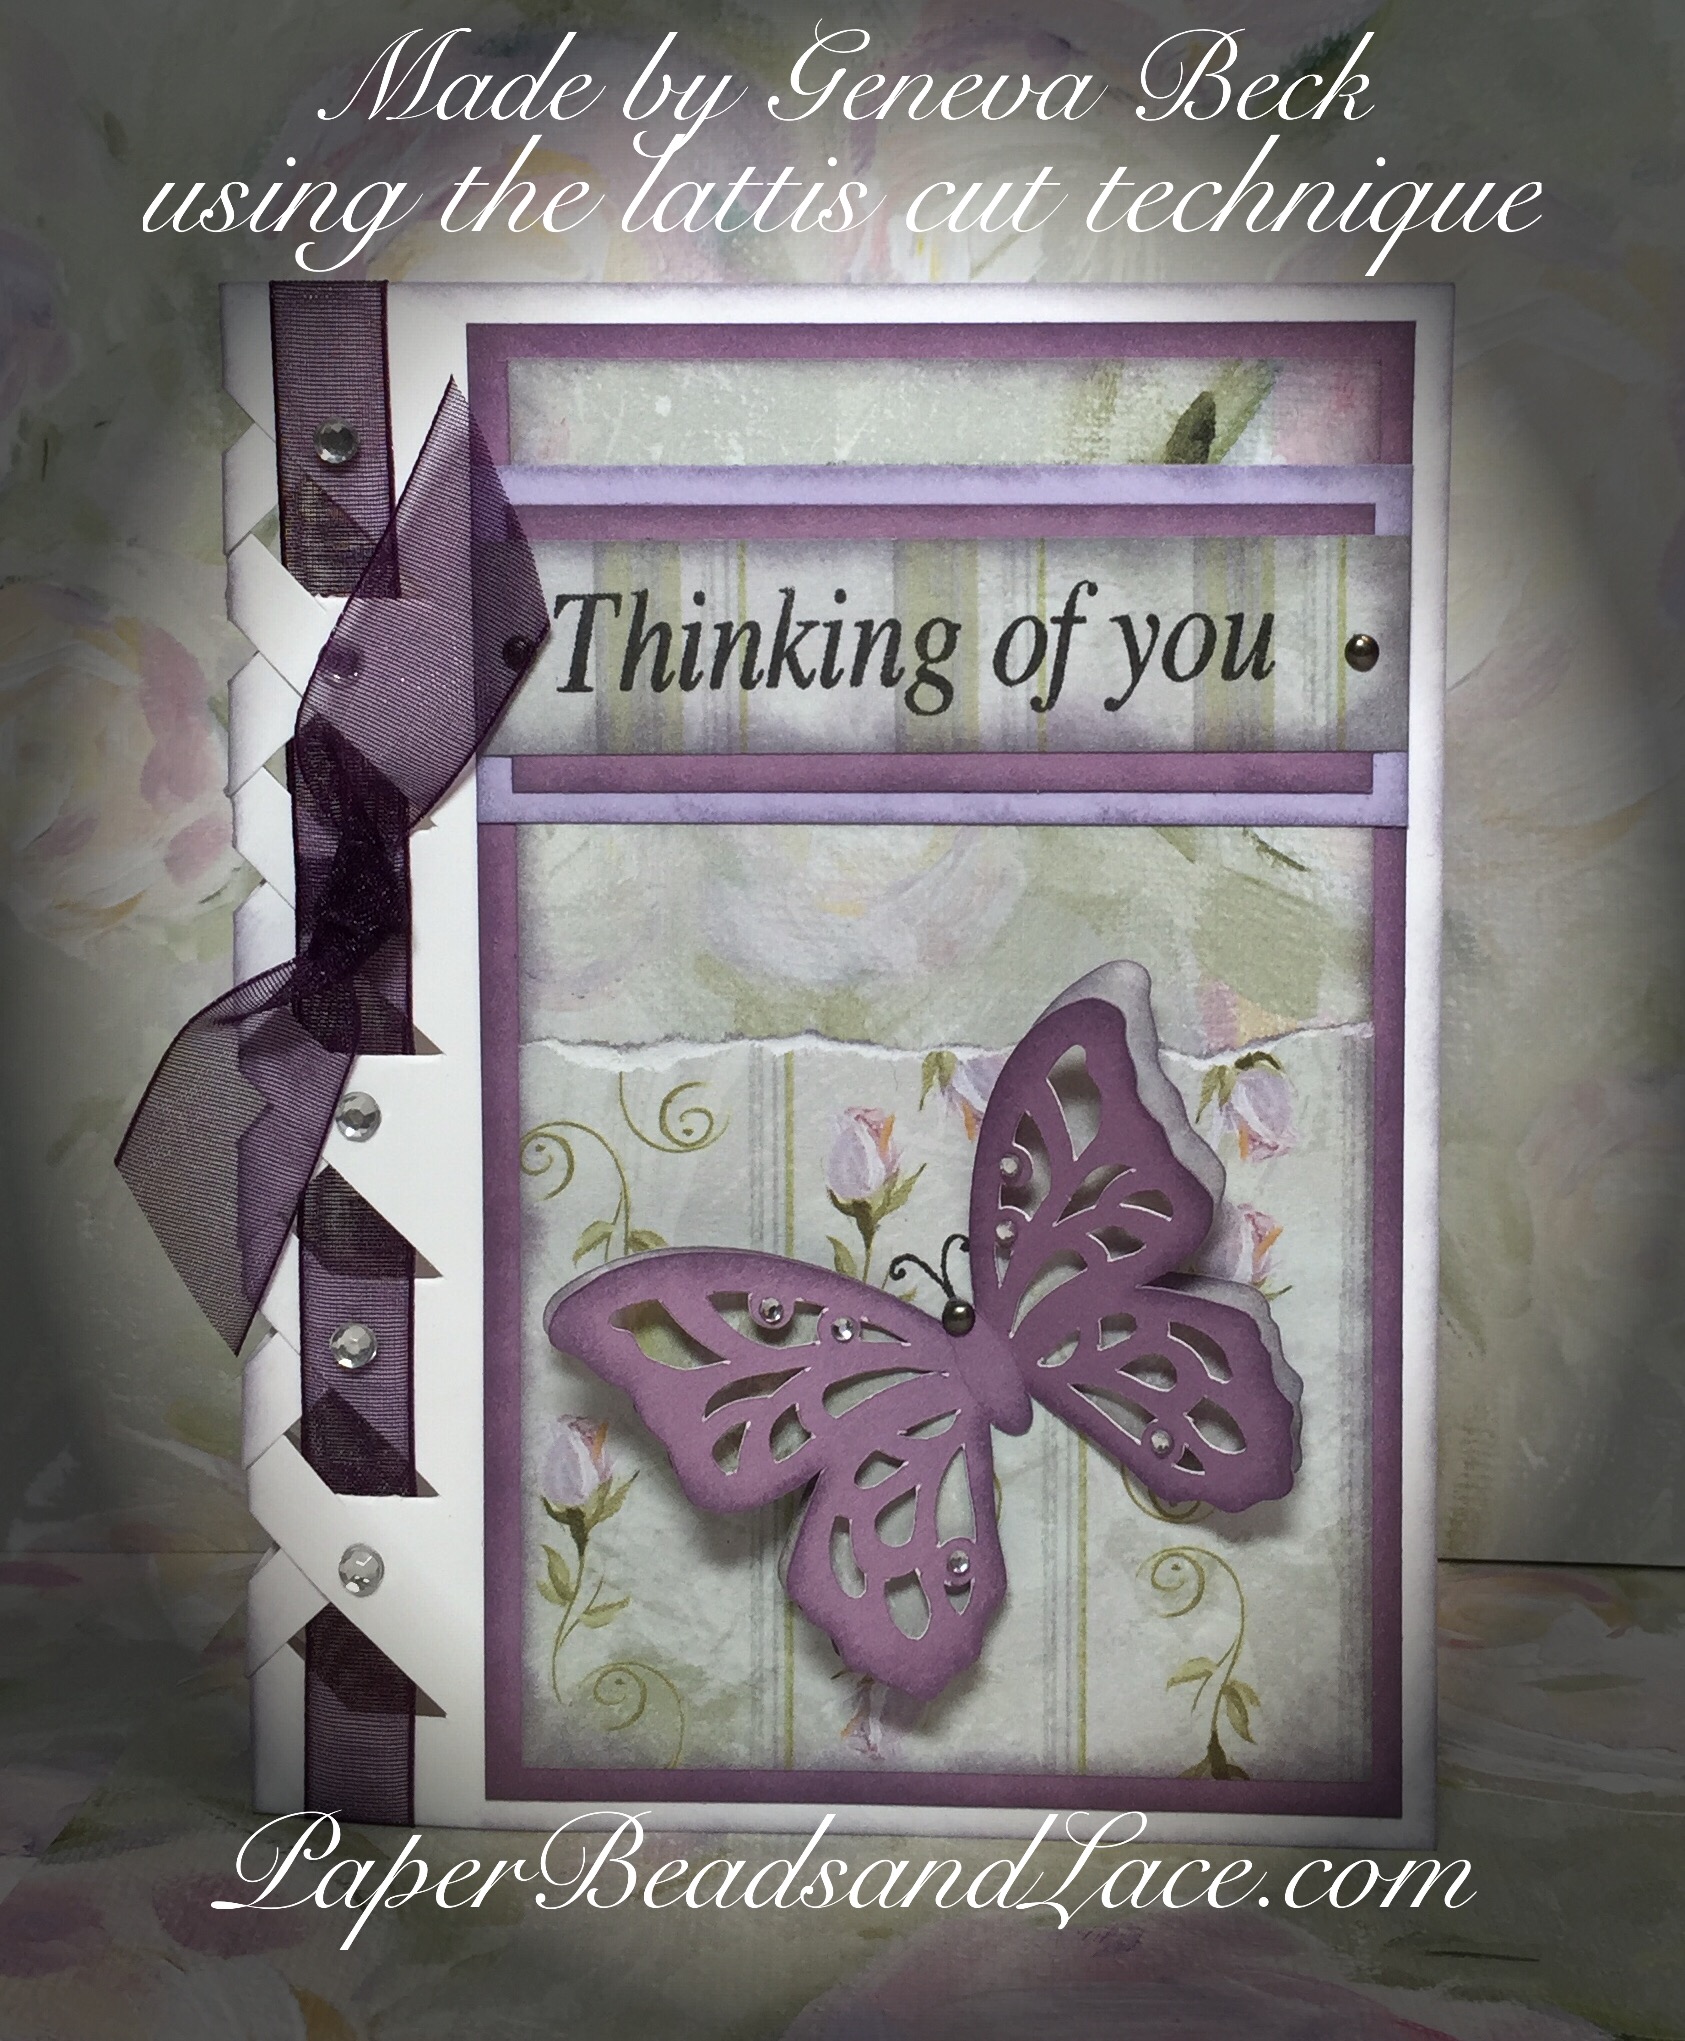
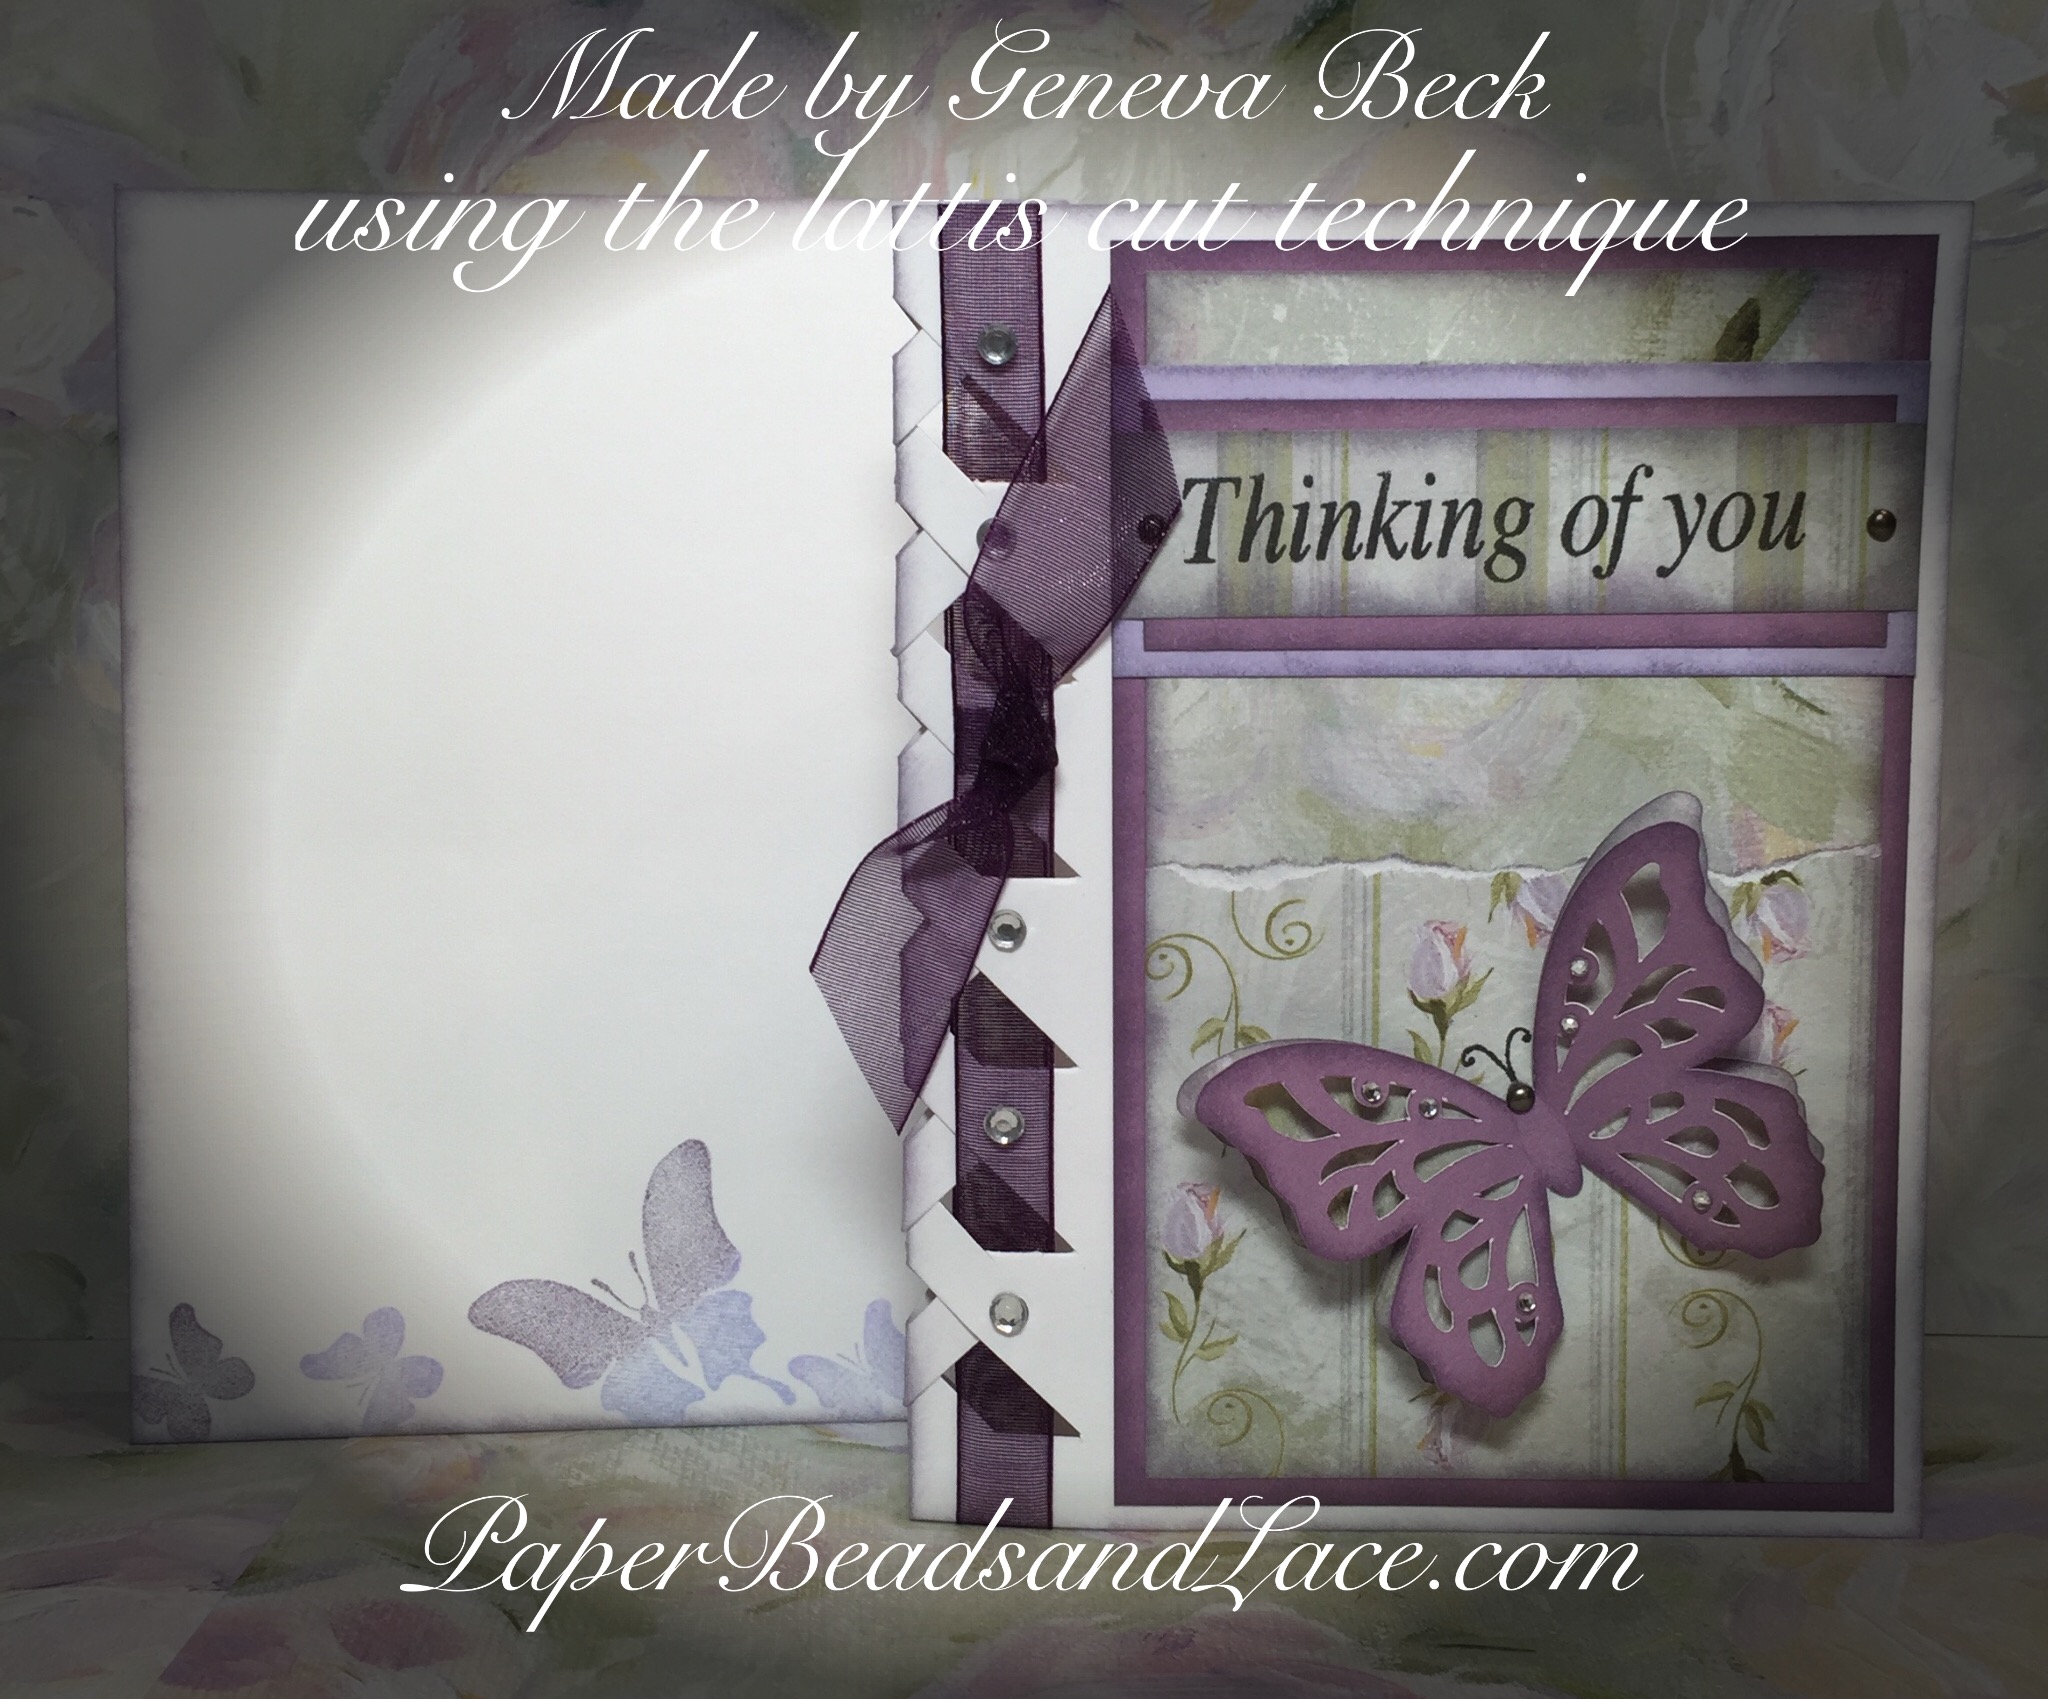

As I finished up I decided the recipient of this beautiful box should have a Birthday Card to match si I created this one for her.

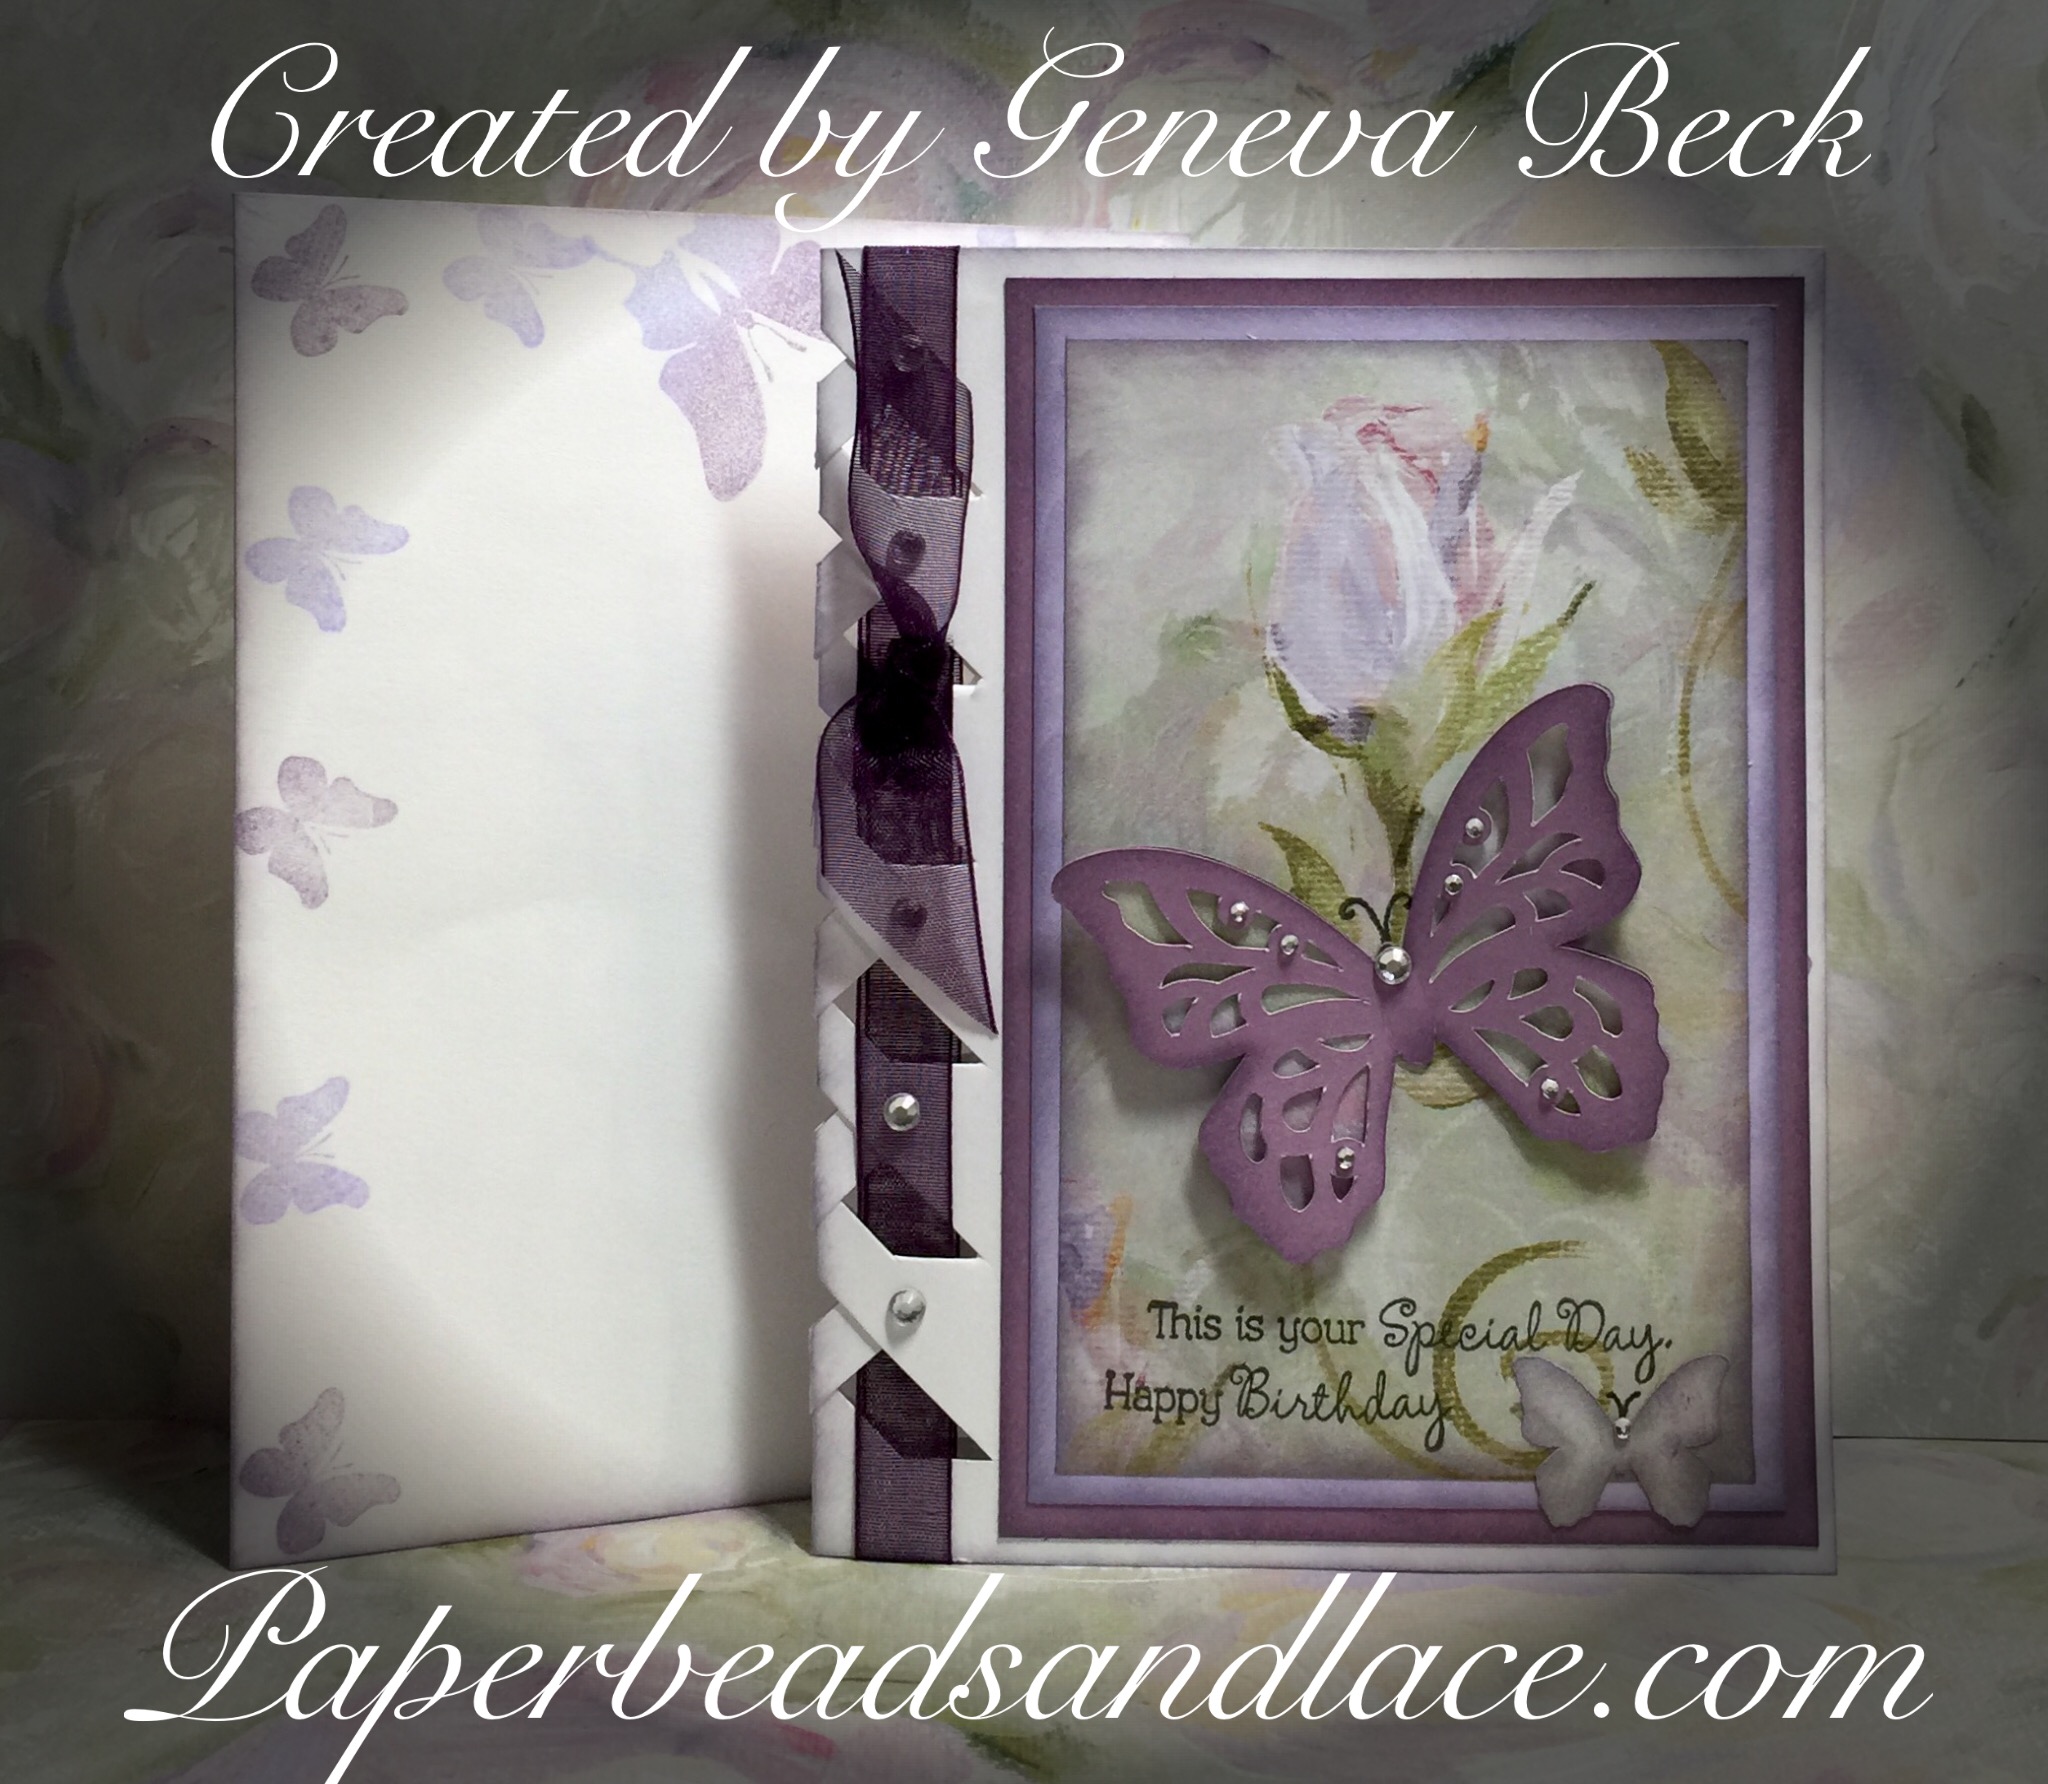
I played with the left over pieces of paper and created a cut file for the lattice cut in design space. These are the last two cards from that.


This is one of the boxes from SVG Cuts. I just love their files. I really embellished this one with a lot of layering, fussy cuts on the butterflies, added words and phrases and a lot of distressing. It brought out the colors in the paper collection so well.


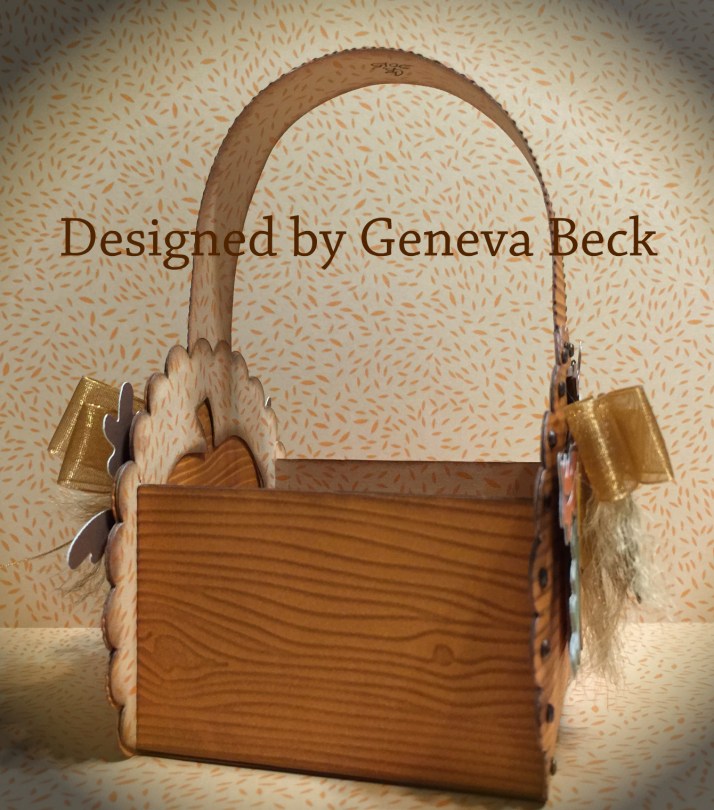
This cute little basket was designed and created using Cricut Design space. It has a wood look to the basket and is actually very sturdy. I embossed the pieces after they were cut and then went over them with Chocolate Ink using a sponge. It has tiny little brads that look like screws, very fitting for this project.

Creativity Is Unlimited
create smart
Close to my Heart, Independent Consultant * 334-366-5276

You must be logged in to post a comment.