Archive | January 2016

Autumn Theamed 6″ x 6″ Mini Fold Out Album

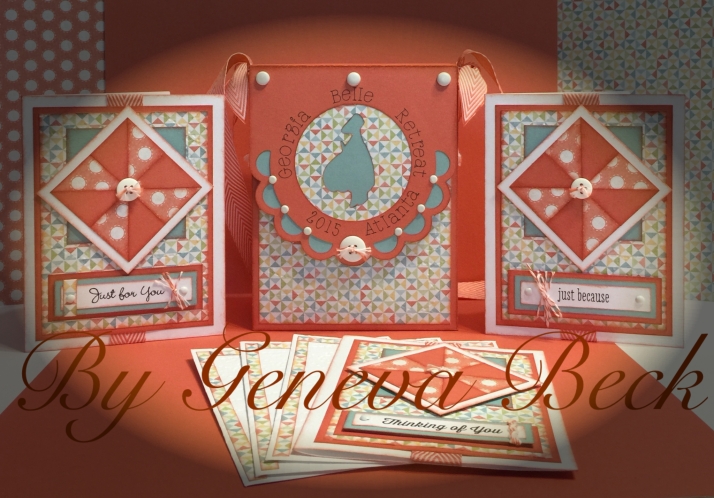
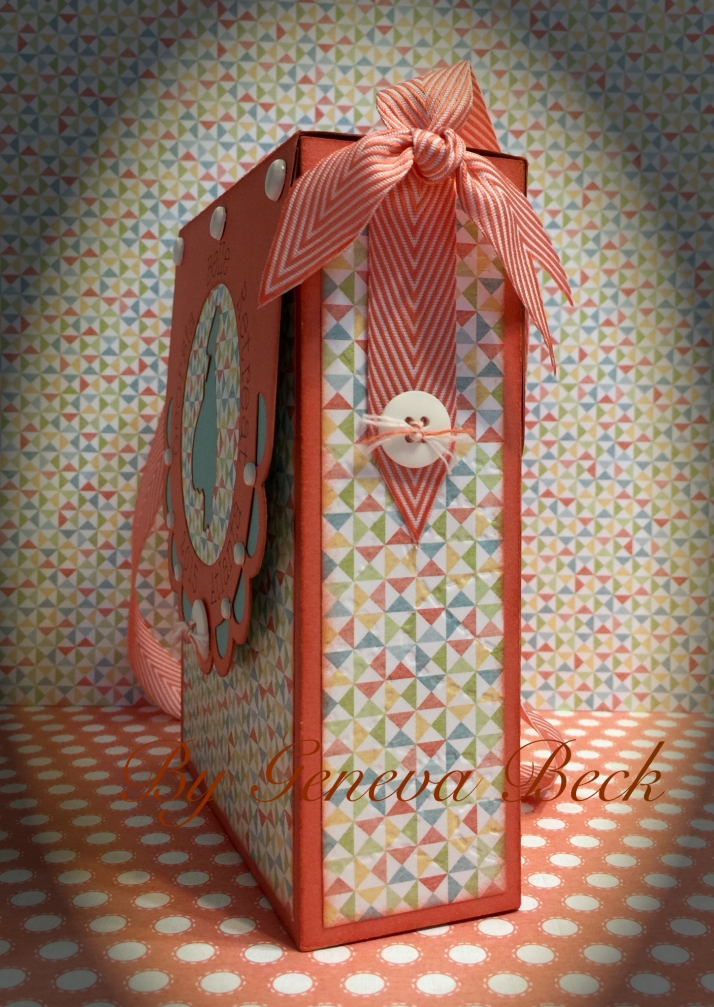
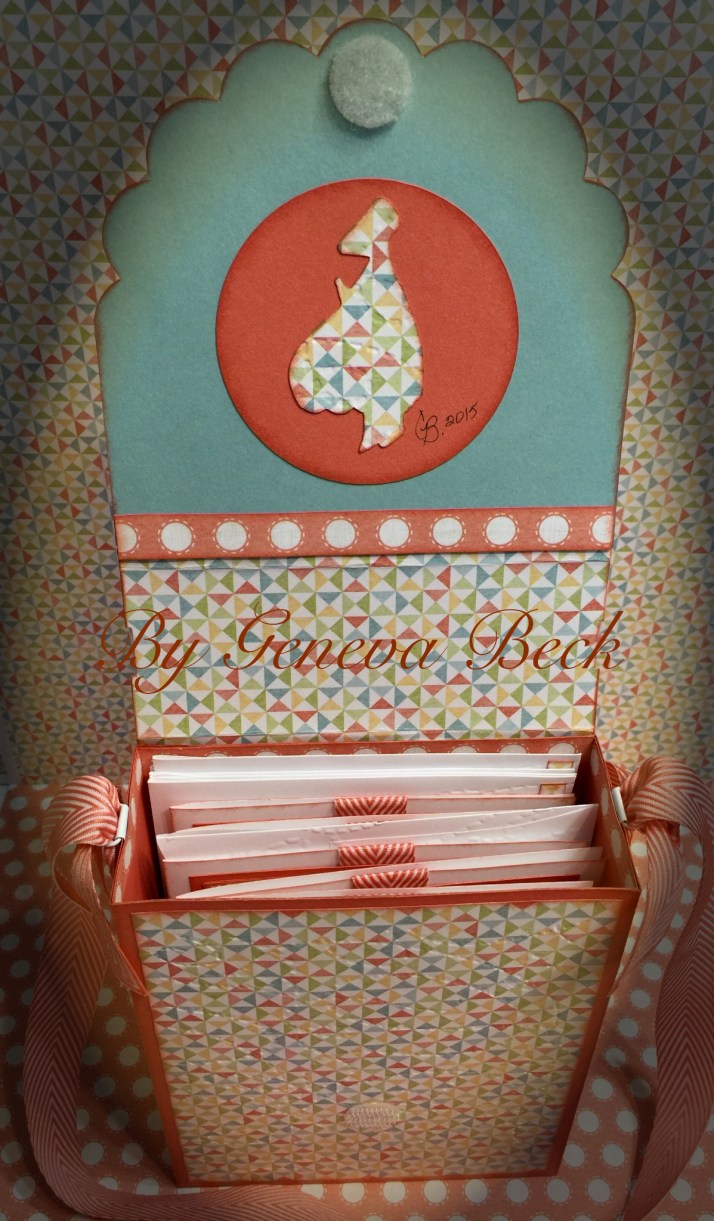
Album made from the 6″ X 6″ Kraft Cards and Autumn/Winter 2011 – Dreaming Paper Collection.

image

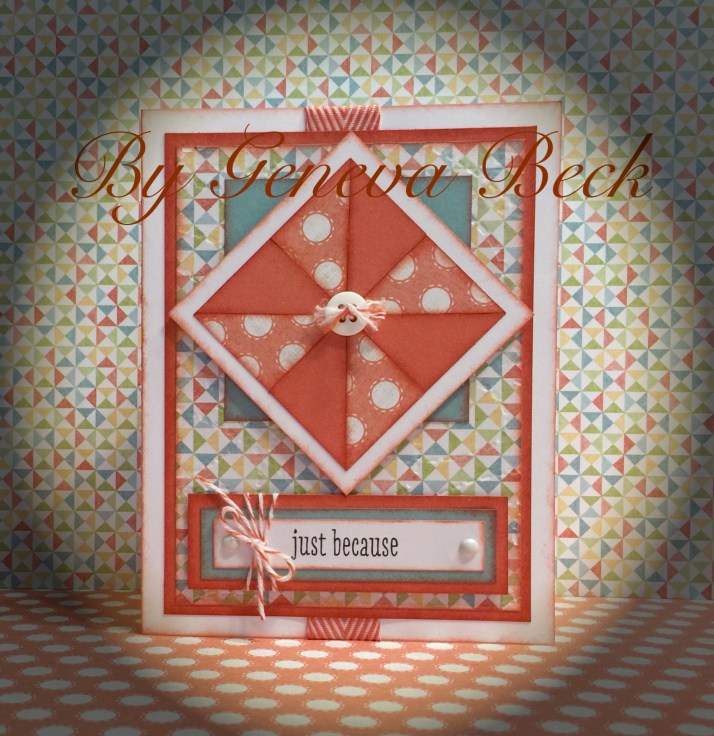
Colors used are Kraft Card and Envelope, Cardstock – Autumn Terracotta, Chocolate and Colonial White. Inks – Coco, Chocolate, Olive and Autumn Terracotta. Ribbon – Colonial White, Twine – Colonial White. Buttons – Autumn Terracotta. Other embellishments – photo hinges, brads and swirls are Autumn Terracotta.

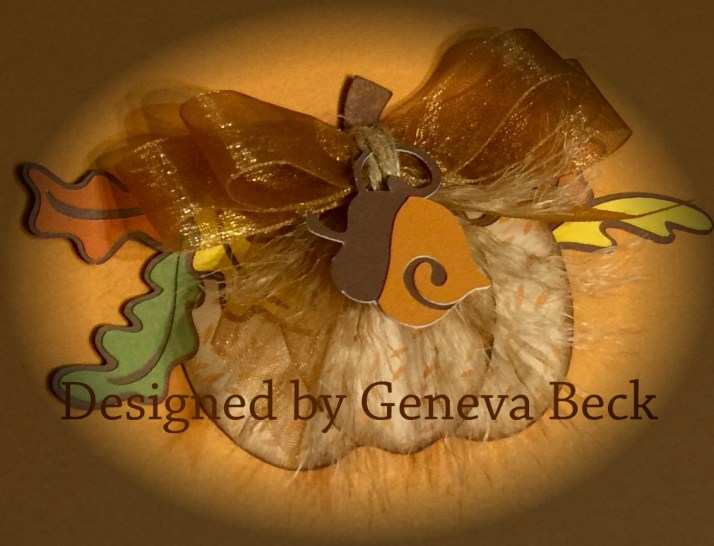
Special details: I stamped the pumpkin three times and cut the desired segments into layers, using chip board I stacked them to give the appearance of a round pumpkin.  image

image

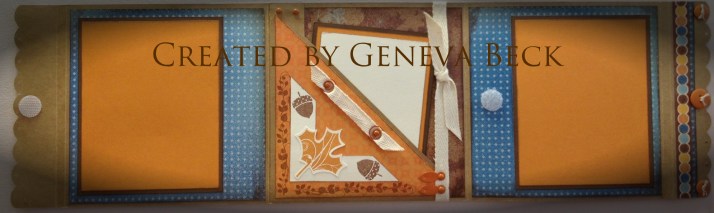
A cute spin on what we can do with a 6″ x 6″ card, this little mini album was created to be part of a workshop for my up-line Brigetta Jiles “Brigetta’s Creative Trends”. It might be small but it is packed with lots of places to place picture memories and journal your story. It’s a great way to showcase that visit to the pumpkin patch with your little ones, that Thanksgiving dinner with the family, or A great little keepsake for your guest to take home with them after a visit over the holiday event.

Fall is a beautiful time of year filled with color and prepares us for Thanksgiving. A time to remember all our blessings throughout the year.

Peace and Comfort

 I loved making this card and playing with different ways to Embellish it.

I used the For Always Paper  Collection from 2012, Stamp Sets B1343 Beloved and C1524 Words of Comfort, InksBlack, Desert Sand and Slate, RibbonsBlack and Slate, SparklesBrown and Tan. Stamping was done on Colonial White Cardstock. I also used a stippling brush and applied stippling in Desert sand and slate to the Colonial white pieces and the envelopes.

For for this last version I used the Avonlea Paper Collection, Smokey Plum and Colonial White Card Stock, Grey Organza Ribbon, Clear Sparkles and the Stamp Collection from the Avonlea Cardmaking Kit.

image

Wonderful Card

This is a card that I designed using the Moonlight Paper Collection from the Autumn/Winter Idea Book 2012 which was a Halloween featured collection. I used Fabulous You C1533 also from the same idea book for the sentiment and border. I used the flower from the January 2013 Stamp Of The Month S1301 which is a valentines day stamp set. I love to use the papers for other events to show their versatility and that they don’t have to only be used for the featured event.

image

Card and Envelope

image

Card front shows the flower is layered

image

Inside of Card

This card can be used for many different events. Use it for a Birthday by adding a sentiment inside referencing to a birthday wish. Use it for a note card to say I’m thinking about you. Being blank inside allows you to decide how to use it. It has a beautiful flower that has a little dimension just by adding an extra layer of the two bottom petals and curling them up just a bit. I also used liquid glass in the center of the flower in tiny little dots to add a little extra dimension.

Color Dare Challenge #178

Heart Valentine Basket and Cards Color Dare Challenge #178image

“Take the Color Dare Challenge” It was great fun to play with these colors together. I know you will love creating something with these beautiful colors. Take the challenge here. http://colormyheartcolordare.blogspot.com/2016/01/color-dare-178-thistle-pixie-glacier.html

image

This VALENTINE BASKET & CARDS was created for a color dare challenge using Glacier, Pixie, Thistle and White Daisy.

I used Cardstock and Ink colors of Glacier, Thistle, Pixie, White Daisy, and the Pink striped paper from the Kaleidoscope Paper Collection. I also used the S1601 January SOTM set, White Organza Ribbon, Sparkles, Bitty Sparkles, Thick Twines – Glacier and Thistle, and mini Brads. I created my cuts in Cricut Design Space using several of our CTMH Cartridges. Art Philosophy – images #M46CCE, #M3F851, #M3ED9A – Soiree Lettering to add the word Valentine, and sentiment inside one of the cards.  Artfully Sent – #M10677A, Artiste – #M3Dad5, M3ABFC.

Creating the files required using the Cricut Design Space tools – slice, weld, attach, group and UN-group and contour. This was a fun challenge that took me out of my comfort zone of colors. It was a little challenging for me to combine these colors, but are very cute together. It was a great experience and pushed me to try colors I don’t usually prefer or use. I decided to make three different card designs while I was creating my cut files. I tried to keep this project simple which is another one of my struggles. My desire was to try and create something that would apply to different style preferences and taste, I hope you like them.

Box Card from SVG Cuts

This is one of the boxes from SVG Cuts. I just love their files. I really embellished this one with a lot of layering, fussy cuts on the butterflies, added words and phrases and a lot of distressing. It brought out the colors in the paper collection so well.

Pumpkin Basket

This cute little basket was designed and created using Cricut Design space. It has a wood look to the basket and is actually very sturdy. I embossed the pieces after they were cut and then went over them with Chocolate Ink using a sponge. It has tiny little brads that look like screws, very fitting for this project.IMG_2192IMG_2186IMG_2195IMG_2163

Christmas Card for 2015

I saw a version of this card posted on Pinterest, I really love the  the CTMH For Always Paper Collection and the color scheme. I used Dessert Sand Ink for distressing, Bitty Sparkles and Sparkles Assortment for embellishing.